episode 2
the basics
of lighting
Welcome to the ultimate guide to recording video at home.
I'm a YouTuber turned freelance video producer now working with some of the UK's biggest brands. I've gathered my expertise into this quick reference guide for anyone trying to film at home: learn the basics of video and lighting and applying my hacks, tips and tricks to optimise your existing devices.
Cameras convert light into computer code. So learning to improve your lighting will improve your videos far more than improving the camera...
1. Brighter is sometimes better.
As long as you are evenly lit, generally more light will make your image look better as your camera won't be trying to see in the dark. But, if one light is much brighter than the others you could be making the problem worse. This is often the case when filming at night with a ceiling light above you.
Exact lighting is fairly subjective, but I'll assume you're just trying to look broadly good and you're not being too stylistic... that's a topic for another article!
Put the brightest light in front of you, if you're unable to do that- remove that light source and repeat.
i.e. pointing the same direction as the camera.
Practically this often means turning off a ceiling light in favour of a lamp, or masking part of a window to block harsh sunlight. Which brings us nicely onto...
People who light for a living use shade, reflectors and black flags almost as much as lights. And so when looking at how your lighting looks, think as much about what can be taken away or blocked, as what needs to be brightened.
2. Light includes shadow.
Often we will be using cameras that automatically adjust to the brightest part of the image. So lighting can be as much about blocking out light that is too bright, as adding in lights somewhere too dark. The most common example is blocking out direct sunlight, which almost always overpowers a room.
3. Diffuse the situation.
The reason pros use softboxes, is harsh shadows are less than flattering on human skin. And this can often be the case when using lamps where you can directly see the bulb, or harsh sunlight. It is common in offices to have translucent pale blinds which diffuse daylight. If you have a home office you're planning on using for video a lot, perhaps net curtains might be a wise investment!
If a light source is too harsh: bounce it (reflect it off of something else). Often shining a bright lamp at a white wall can create a nice diffused ambient light which looks great on camera.
Try positioning different lamps around your space, at various heights and angles. Look how shadows can make a video look more 3D, or how coloured background light can make you stand out in the foreground.
4. Paint with light.
Use light in video like you would colour in a painting. Once you have the necessary minimum lighting so you are clearly visible, you have the opportunity to get more creative, and make your video pop.
5. Level up with these purchases.
And finally: here are some ideas for making your space more friendly to video. This could be a permanent setup that can be used for filming and video calls, or just an extra you bring out when you need to record something special.


Getting White Right
One of the most common problems with lighting for video is mixing up colour temperatures.
All colour in cameras is calibrated by white in a process known as the white balance. Most cameras (such as smartphones) automatically judge this for you- but if you have multiple different temperatures of white within one image, this automation can go wrong.
When your camera interprets white incorrectly it has no hope at getting your skin tone correct... and you can end up looking a bit ill!
The Sky's the Limit
- Look around at the artificial light sources available in your environment.
- Notice where they roughly fall in the warm to cool spectrum above.
- If you intend on filming during the day - look around at the natural light sources. Windows, skylights, bi-folding doors.
- The colour temperature of these sources will depend on the weather and time of day.
You can't control the weather's colour- but be aware which of your artificial lights match (and which clash) whenever you sit down to film.
Tip: Avoid direct sunlight, hope for overcast skies.
Light is so important because for amateur setups it often decides when and where you film.
Explore where in your space has the best lighting at different points in the day. If you want to film in a certain place, you may need to adjust or invest in lighting to make it suitable.
Which setup is right for you?
When you've hit your wall
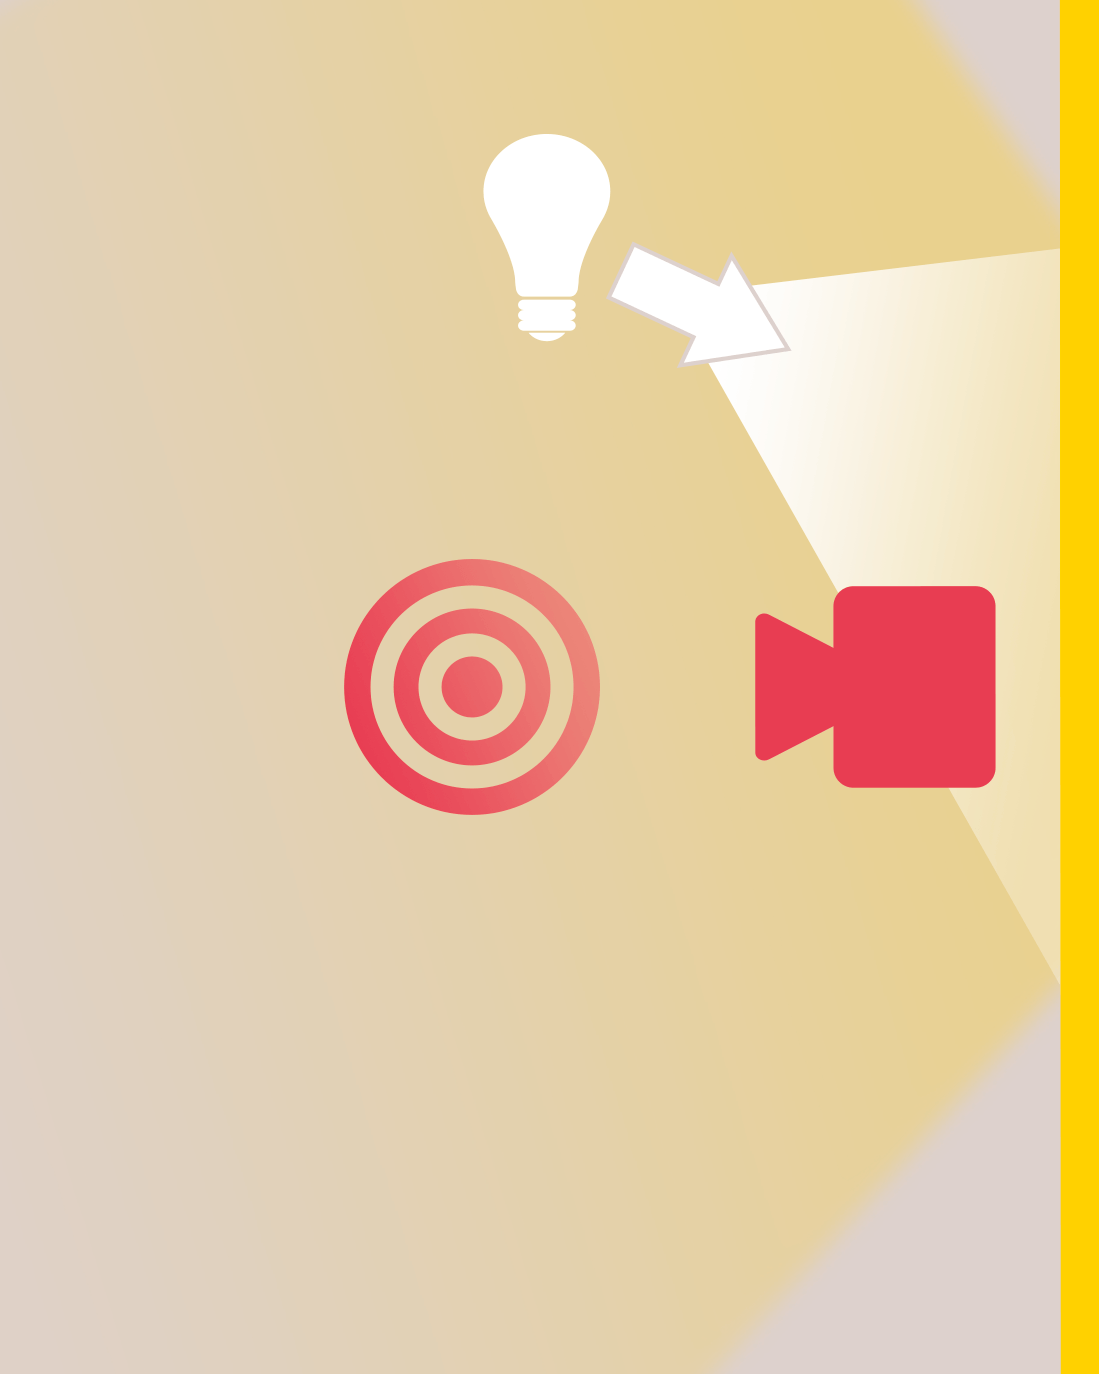
This is my number one winning lighting setup for the majority of people. Get a nice bright desk or floor lamp, and point it directly at the wall in front of you and behind the camera. Then let the wall act as a huge soft box. Cautions:
1) The wall colour will affect the colour temperature of the light.
2) You may still need some lights in the background, make sure they aren't as bright.
3) You can always shine multiple lamps at one wall.
4) If you don't have a wall, find something big, white and reflective! Not a mirror that's too reflective.
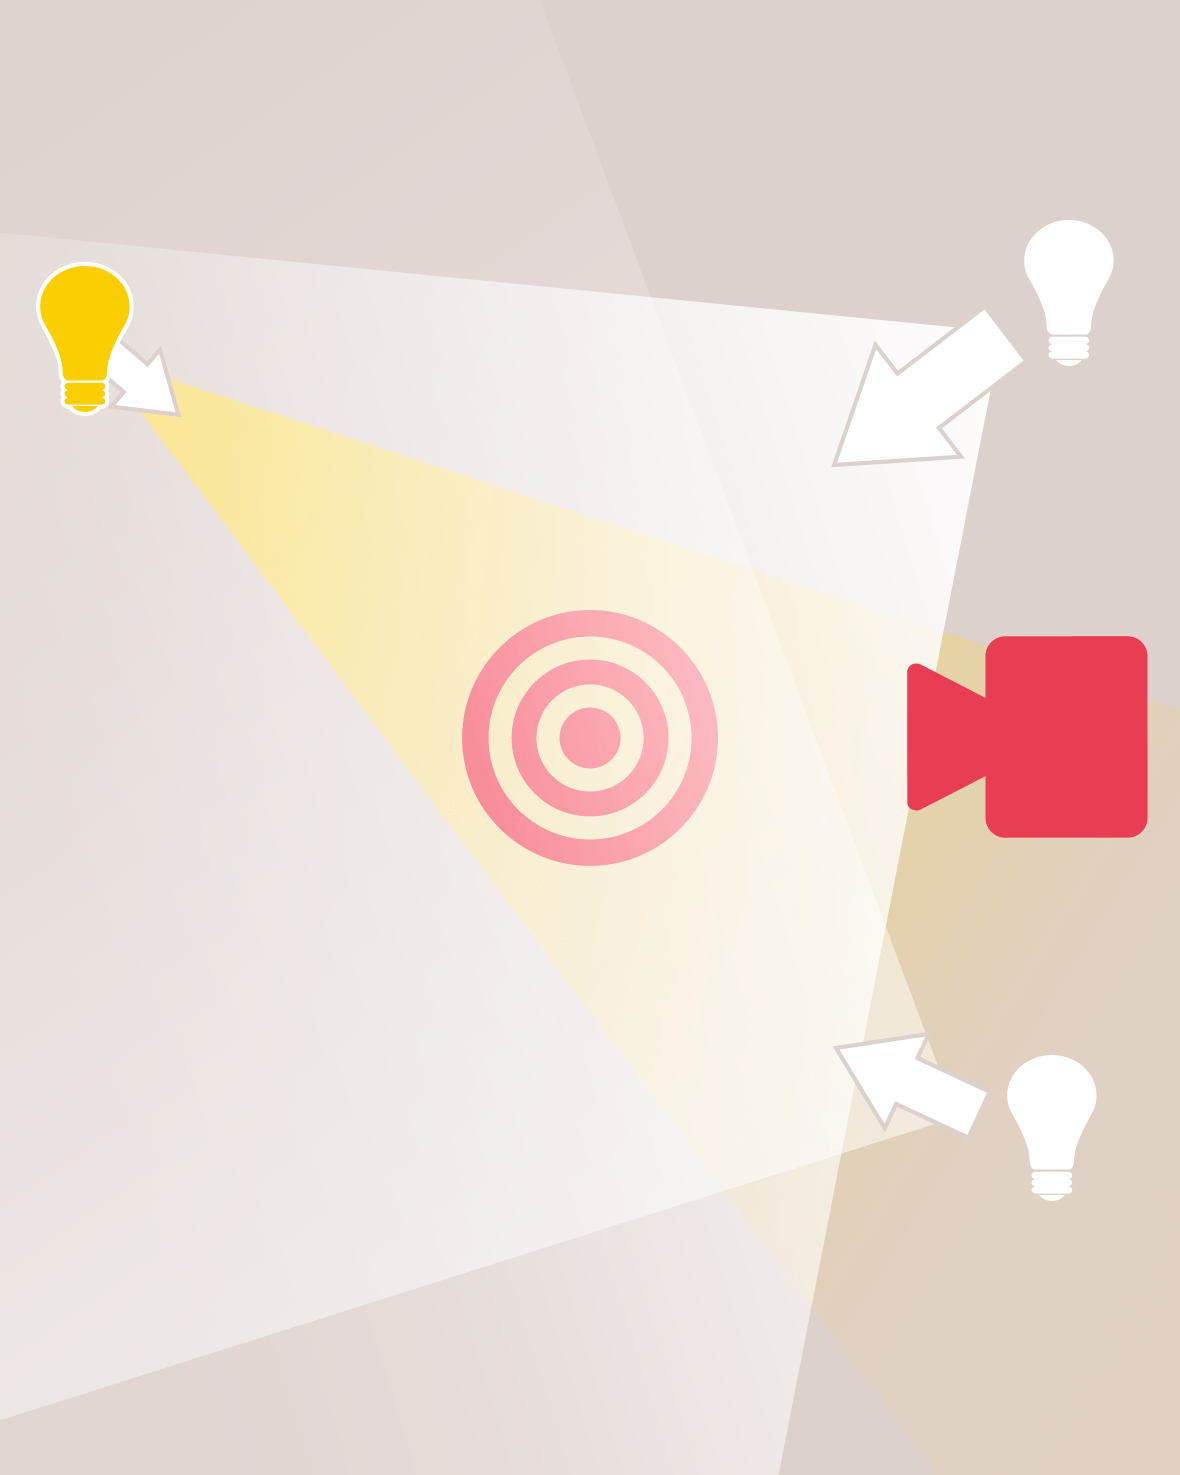
3-Point Lighting
The classic interview look. Use a key light (to light you), a fill light (to fill in some of the shadows) and a back light (to seperate you from the background). Bosh. Some common mistakes:
1) All three lights at max brightness. You don't cook with the oven on max, don't light that way. You aren't a pizza.
2) Low lights. Not intensity but height- all lights should be slightly above pointing down at you. Unless you're telling a horror story with a torch.
3) Mixing colour temperatures. Common when improvising with different sources (like a window). You can use a different colour for the backlight, but key and fill must always match.
Here Comes the Sun
It is most common to use a window as your key light, with perhaps a white wall or similar bouncing some of the light acting as the 'fill'. But for this setup I'll image you're sat right in front of the window. Cautions:
- Backgrounds can appear dull and dark, as the camera compensates for bright you reflecting all that window light. This is the time to start painting with light, and experimenting with lamps to create some dynamic shadows behind you.
- The Sun changes. Both intensity, colour and brightness: how rude of it. If you're recording over a longer period of time be cautious

Beware glowing eye circles
I do not like ring lights. There I said it. But if you insist, make sure the camera is in the middle, and position yourself fairly close, so the light is predominatly lighting you. Then adjust the brightness to taste.
Often people use ring lights on max far away, and I find LED lights (ones made of lots of dots) are only effective as close to you as you can get.